Client File Sharing: QRClip's Secure Upload Portal
2023-08-06
Introduction
QRClip prioritizes user privacy. Leveraging a zero-knowledge architecture, we ensure that data remains strictly confidential. In this setup, we only discern the size of your data. Every other detail is encrypted, which means we don’t have the keys to access the actual content. This architecture ensures that only you have access to your files and information.
The Need for Secure Upload Portal
In this era of expansive digital networks, the imperative for robust data security is undeniable. As file-sharing and communication become more streamlined, the threats to data security amplify. Businesses and professionals require more than just an app that encrypts – they need one that assures absolute privacy.
Consistent with our dedication to exemplary security, we present Portals. This document collection tool ensures that every piece of data, every document, and every image retains the hallmark QRClip guarantee of unparalleled privacy. One of our unique offerings is the end-to-end encryption of portal visuals. What does this mean? Essentially, any unique branding elements you integrate into the portal, be it your logo, a specific backdrop are securely encrypted. This ensures that these elements are visible only to those with the authorized link, keeping your brand's identity secure.
Portals: The Ultimate Data-Sharing Solution
Portals stands out in the crowded field of data-sharing platforms. It’s a beacon of security and privacy. More than a mere file-sharing solution, it promises end-to-end encrypted file transfers, reducing risks of unauthorized access.
Secure Client Portal
At the heart of Portals is the formidable XChaCha20-Poly encryption technique, designed to withstand a wide array of cryptographic attacks. The truly groundbreaking aspect? Only users have access to the decryption key, granting them unparalleled control and assurance over their data's security.
Getting Started with Portals
Here, we'll cover the basics to get you up and running. For the advanced features, keep an eye out for our upcoming posts. Ready to dive in?
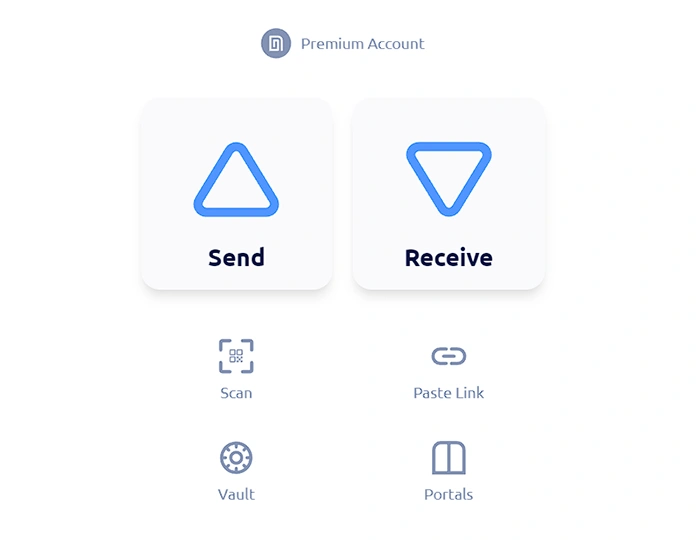
Accessing Portals: From the home screen, simply click on 'Portals'.
Setting Up Encryption: Portals are end-to-end encrypted, so you'll need a secure place to store your portal keys. That's where the QRClip Vault comes in. If you haven't set one up, check out this blog post for a quick guide. With your vault ready, let's move on to creating your Portal.
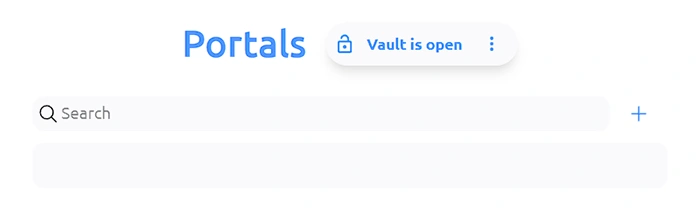
Click on the plus sign to start.
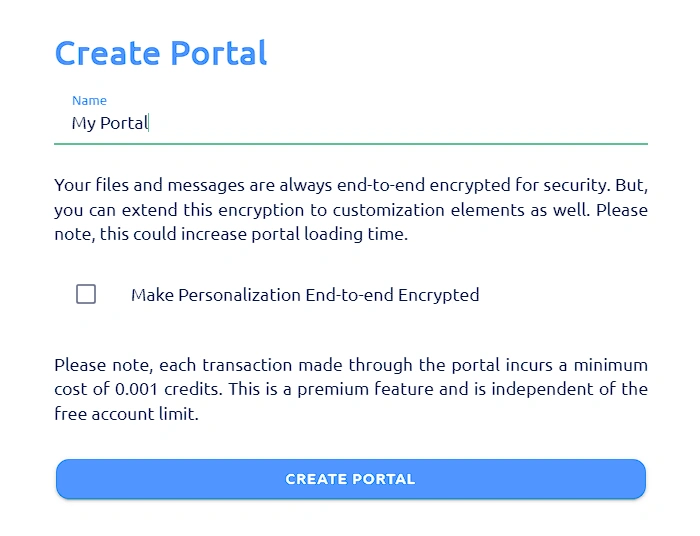
Give your Portal a name. You'll also see an option to encrypt personalization images. It's your choice to use this feature. For this guide, we'll leave them unencrypted.
Click 'CREATE PORTAL' to finalize.
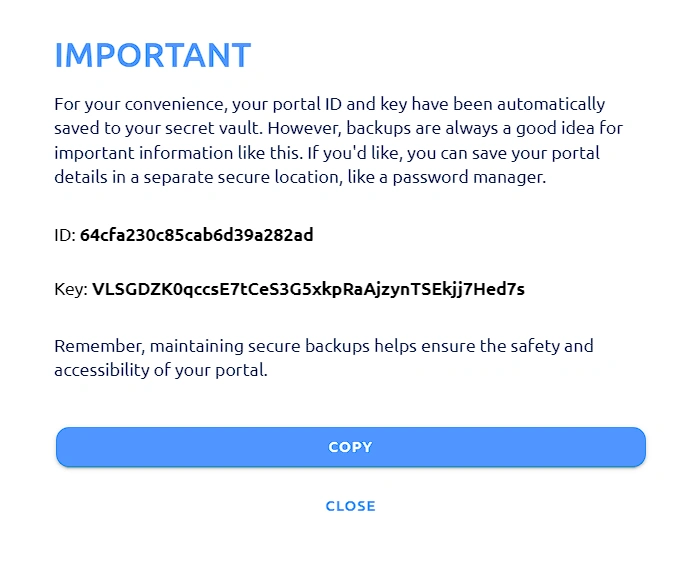
Storing Your Portal Details: Once your portal is set up, a dialog box will pop up with your portal ID and key. This info will automatically be saved to your QRClip Vault. However, it's a good idea to keep an extra backup somewhere safe.
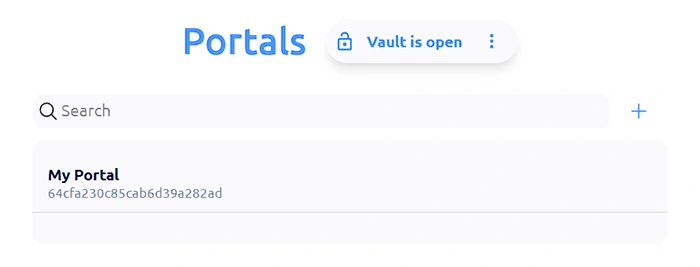
Click on your portal to open it.
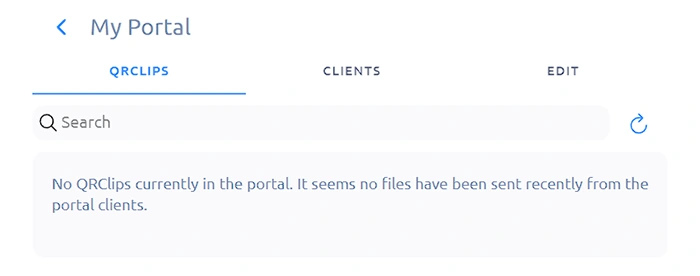
You'll find three sections inside:
- QRCLIPS: This is where you'll see files sent to you, whether by clients or colleagues.
- CLIENTS: This section is for adding client details. Each client gets their own unique link. When they use it to send you files, you'll know exactly who it's from, eliminating the need for logins or email inputs. A single link does it all!
- EDIT: The final section in your portal is labeled 'EDIT'. This is your space to infuse some personal touch! Here, you can customize branding elements and tweak various settings to align with your preferences or company's identity.
Navigating Portal Customizations: A Blend of Security & Ease
The 'EDIT' section is a testament to this design philosophy, offering a buffet of options that cater to different user needs. Whether it's crafting a personalized greeting for your visitors or ensuring that only certain individuals have access, QRClip's Portals makes it straightforward. Before diving into the intricacies of branding, let's familiarize ourselves with these basic configuration settings.
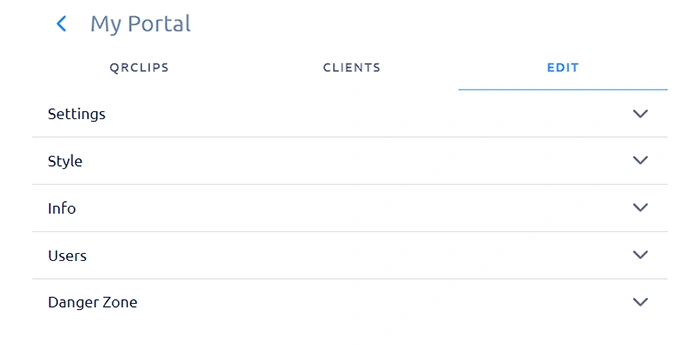
Clicking on the 'EDIT' tab is your gateway to an assortment of customization features. QRClip's Portals ensure that every user can mold their portal to better fit their needs and preferences.
Let's take a moment to explore these settings:
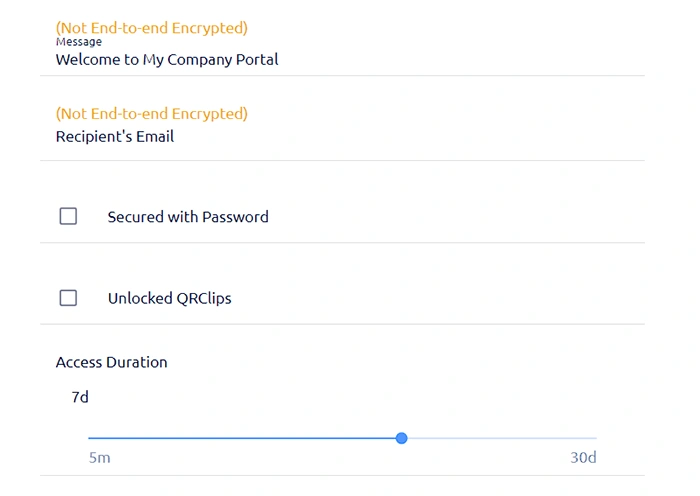
- Crafting Your Welcome: Begin by adding a welcome message. This is the first thing visitors will see, setting the tone for their experience.
- Stay Notified: Add an email address to ensure you're promptly informed whenever new files are uploaded to your portal.
- An Extra Layer of Security: By setting a password, you add another layer of defense. Only those privy to this password can contribute files.
- Control Your QRClips: The 'Unlocked QRClips' setting is a powerful one. With it deactivated, you're the sole guardian of the files. Activate it, and those sharing files gain the ability to share the link further, increasing accessibility.
- Customize File Parameters: Dictate the terms of file sharing by setting limits on file size, the number of files, and the time they remain accessible.
Remember, these are just the basics! For now, pen down a welcoming message to greet your visitors. Once that's done, it's time to venture into the vibrant world of branding, ensuring your portal not only functions optimally but looks the part too.
Adding Your Personal Touch: Branding the Portal
The aesthetics of your portal can shape a user's experience. It's not just about function; it's also about creating an environment that feels like 'you'. Let's delve into how you can brand your portal:
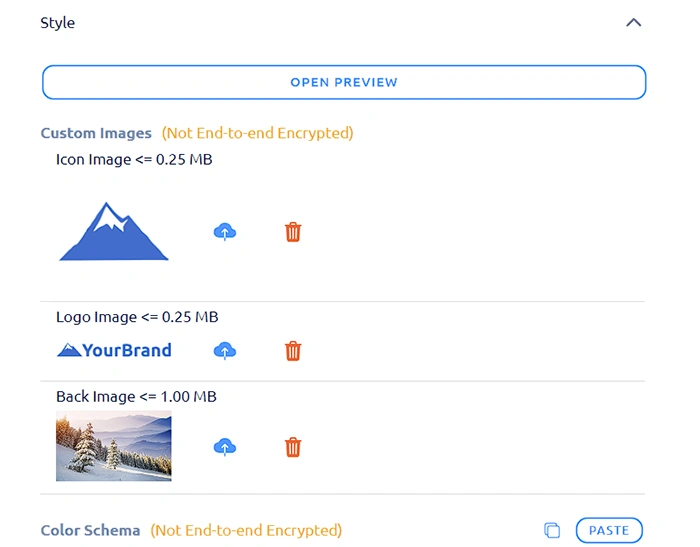
Choosing Your Imagery: Click on 'Style', and you'll be prompted to select the images that best represent your brand or personal style.
Pick Your Palette: It's time to get colorful! Decide on the hues that resonate with your branding or mood.
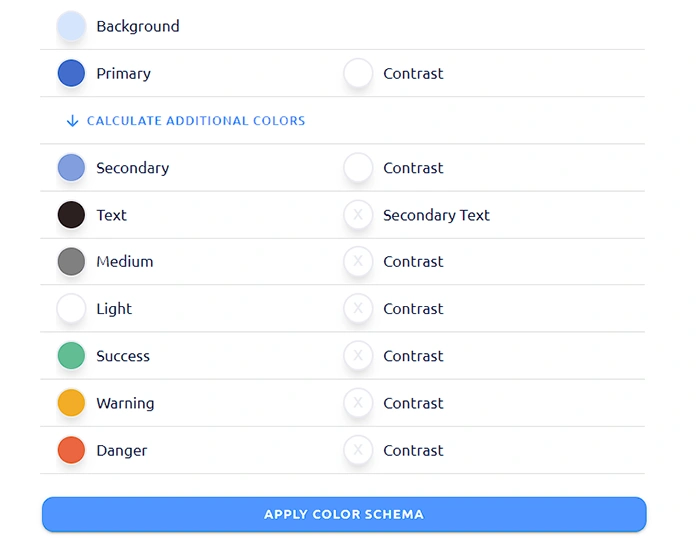
Bring It All Together: Once you're satisfied with your color choices, click on 'APPLY COLOR SCHEME' to lock them in. Want a sneak peek of how it all looks? Simply hit the 'OPEN PREVIEW' button, located conveniently at the top.
With the aesthetics sorted, our journey into the world of Portals isn't over yet. The next step? Crafting your first client experience.
Guiding Your Clients In: Creating and Sharing the Portal Link
The essence of the Portal is to provide a seamless file sharing experience. To facilitate this, we'll be creating a client, which essentially is crafting a unique link to share. Here's how:
Navigating to the Right Spot: Start by clicking on the 'CLIENTS' tab, positioned at the top of your dashboard.
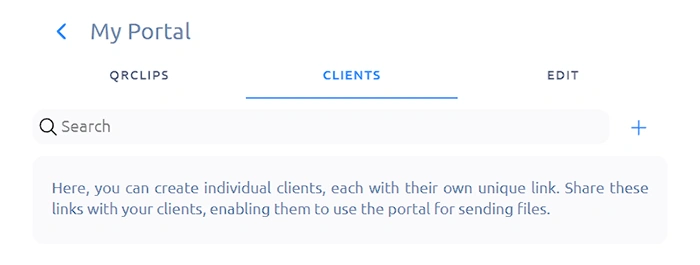
Adding a New Client: Spot the plus sign? Click on it to pave the way for a new client.
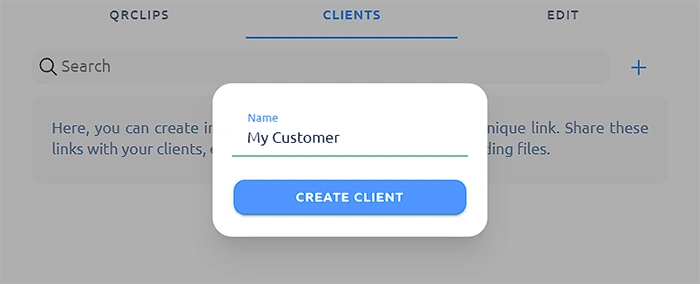
Naming Your Client: Key in your desired client name and hit 'CREATE CLIENT'. A little privacy tidbit: This name is wrapped in layers of end-to-end encryption. So, even we at QRClip are blind to it; it's protected with a key that's out of our reach.
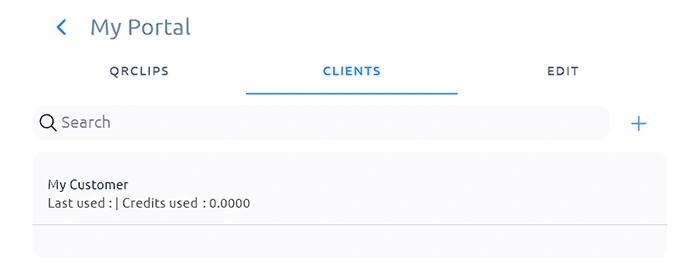
Dive into Client Details: Your client is now ready! Simply click on the client's name to explore further.
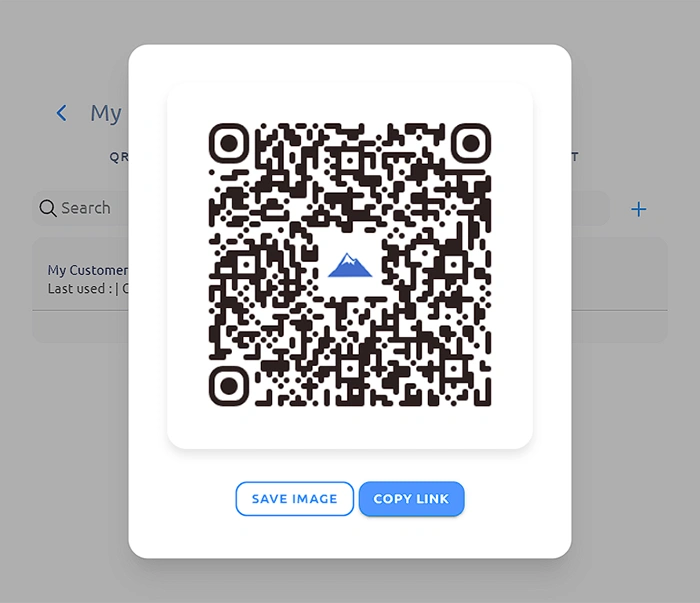
Share, the Way You Like: Whether you prefer the digital ease of a link or the tangibility of a QRCode, we've got you covered. Imagine the convenience of a QRCode placed strategically at a reception desk – no more exchanging emails or waiting on pins and needles. A swift scan lets your customers send files straight to your portal.
Now that you've got the link, let's see it in action in the upcoming section.
Walking in Their Shoes: The Client's Perspective on File Upload
What do clients see when they access the link? Let's delve into their experience:
The First Impression: On opening the shared URL, clients are welcomed by your distinctive branding – a testament to your professionalism and attention to detail. The interface they encounter? Remarkably straightforward. It beckons them to pen down a message or attach files.
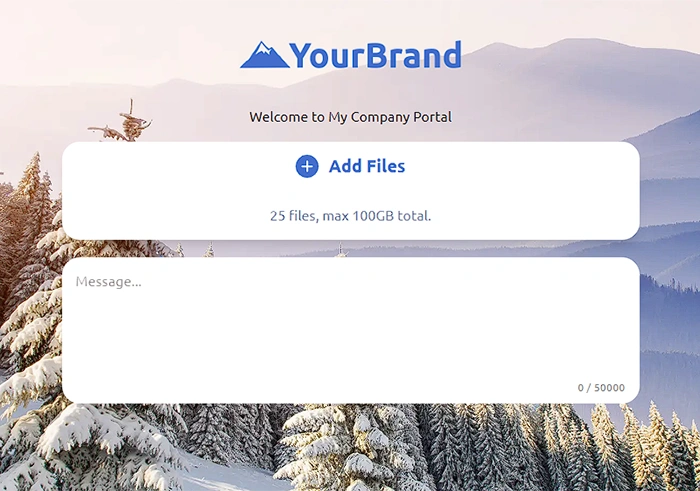
Getting Files Ready: Clients can either choose files they wish to share or simply type in a message. Both, or just one – it's all up to them.
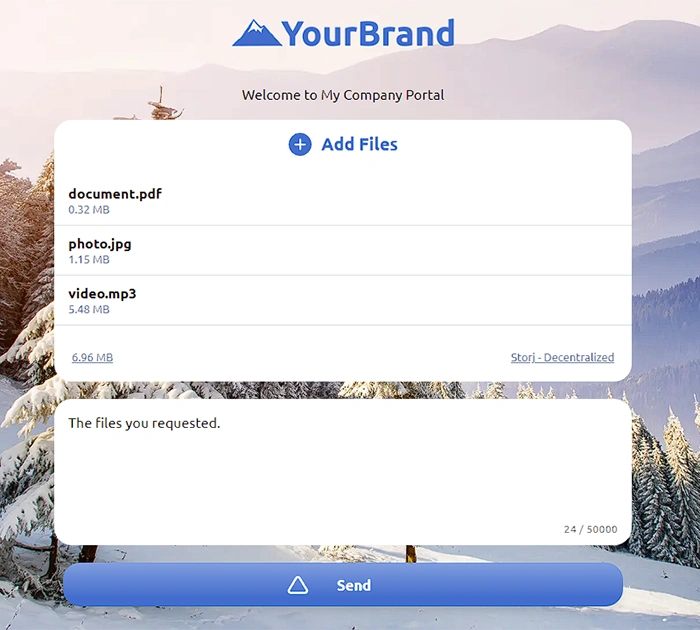
A Single Click Adventure: Once they're set, a mere tap on the 'Send' button does the trick. The files begin their secure journey to your Portal.
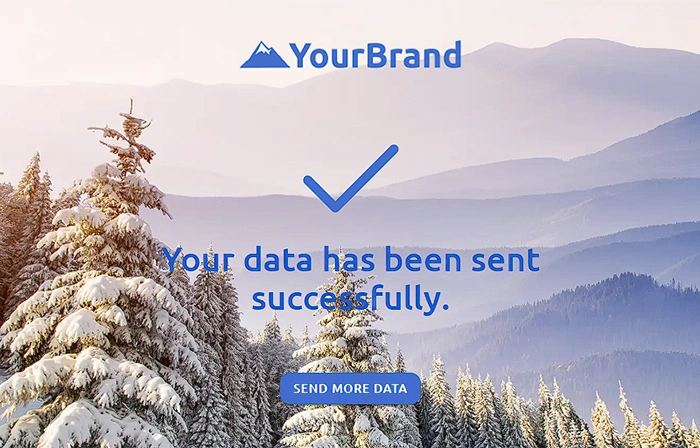
A Seamless Finish: As the files upload, your client can sit back and relax. The best part? No additional steps, no extra information – pure simplicity.
Remember our chat about QRClips being locked to the Portal? If you've unlocked them, the final page presented to your client post-upload showcases the QR code and URL. This means they can share the uploaded data far and wide. In our next segment, we'll guide you through the ease of retrieving this shared data.
Effortlessly Receiving Files: Simplicity at Its Best
How do you access the files sent to you? Let's break it down:
Locate the Files: Head over to the 'QRCLIPS' tab. This is your hub for all incoming transmissions. As files stream in via the Portal, they neatly stack up here.
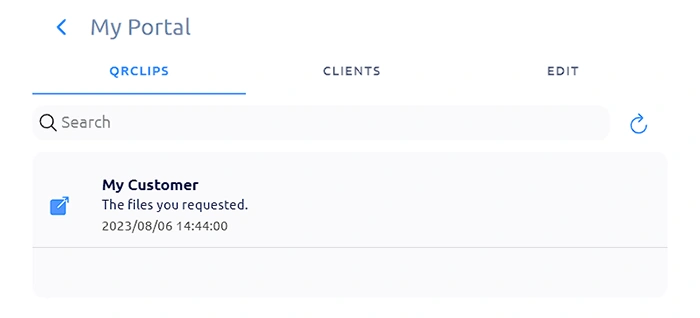
Details at a Glance: For each file, you'll be greeted with the client's name and a sneak peek into the accompanying message – be it the opening line or the initial 60 characters. This gives you a hint about the content or the context.
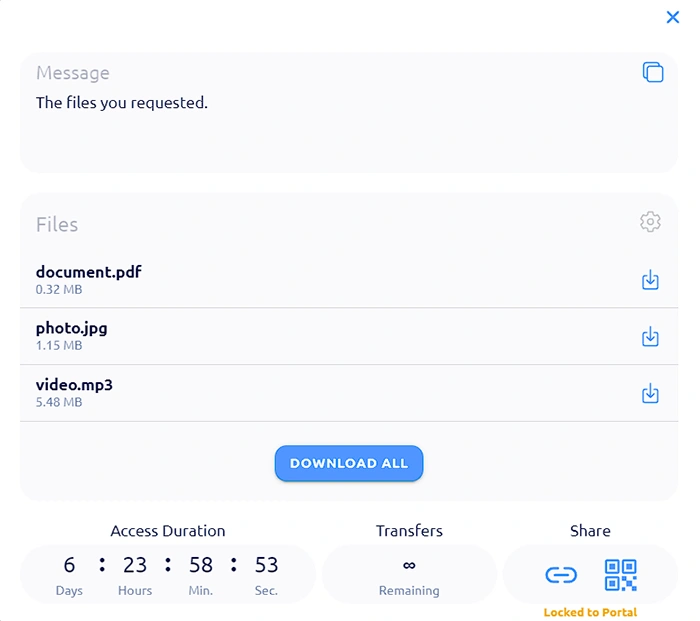
Dive In: Intrigued by the preview? Just give it a click. The QRClip will spring forth in all its glory, revealing the complete message and presenting options to download the associated files.
Your Data, Your Rules: Remember, default settings ensure the utmost privacy. If you simply share the link to someone, they'll hit a dead end. However, the power to adjust this lies with you. Want to share a specific QRClip? Use the 'Locked to Portal' toggle to unlock it. But keep in mind, this now means anyone with the link has access.
In our Portal, control and convenience coexist. It's built keeping you in mind, ensuring you remain the gatekeeper of your data at all times.
Straightforward Pricing with Portals
Every QRClip received through Portals carries a nominal fee of 0.001 credits. Beyond this, costs associated with file storage and transfer align precisely with the regular QRClip platform rates. It's essential to note that Portals operates exclusively as a Premium feature, meaning there's no free tier available. In essence, you're paying a minimal cost for an enhanced, secure receiving experience, with no surprises in the pricing structure.
Wrapping Up: A New Dawn in Secure File Transfers
In today's digital world, it's crucial to protect our data. This is where Portals shines. It's more than just a way to receive files; it's a method that's both safe and stylish.
With Portals, you're at ease knowing that files sent to you are secure. Plus, you get the added bonus of personalizing the look to fit your brand or style.
Whether you're a business seeking to enhance your image or an individual wanting a secure file reception, Portals is perfect.
So, don't miss out. With Portals, you experience both security and style in receiving files. While this feature is premium, we understand the importance of trying before committing. Contact us for a demo, and experience the benefits firsthand!